Sunday 31 July 2016


Bare metal chassis work prior to blasting and coating. www.aerocyclecars.com


As an introduction though, why not go to the Blog overview first.

All of the work shown below (on this page) is done by me in the factory, so do not worry!


A pretty boring photo really, but after welding the swing arm pin bush to its plate, it needs cleaning out using a fine 20mm x 1mm pitch tap. Now here is some early advice. All early bikes from 850cc right up to California 3 all use the 20mm diameter swing arm pin. Later 1100 California variants use the bigger pin (greater diameter but same bearing surface). I use the 20mm x 1mm pin in all chassis, so if your donor bike is an 1100 California variant, you'll need to purchase a pair of the older pins.


Here is the 20mm x 1mm tap screwed through the welded swing arm bush. When finally mounting your swing arm, ensure that you insert the pins using copper slip or similar.


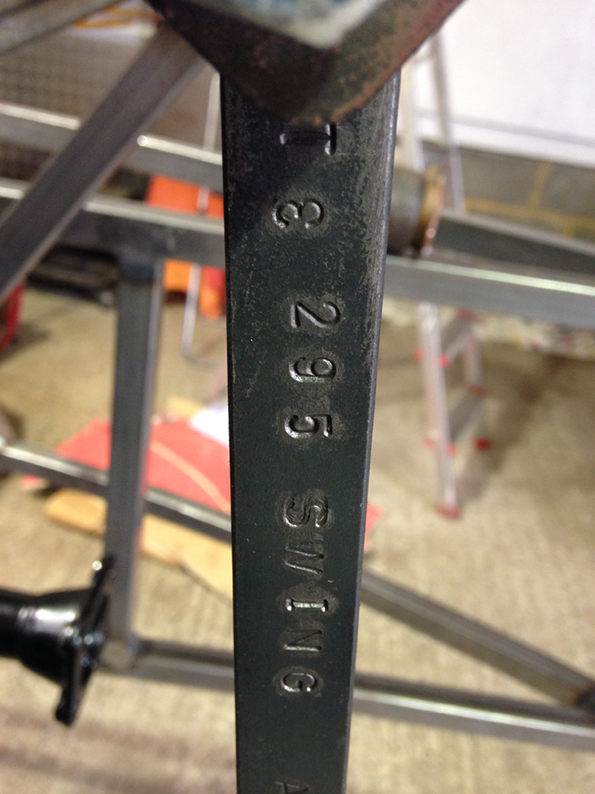
Next job prior to blasting/coating, is to fit up a swing arm then to attach the self aligning prop shaft bearing to the main bearing plate (you can see the large hole in the plate). A word about swing arms: there are a number of different swing arms across the range of 850cc -1100cc twin rear shock absorber bikes, but we are interested in two lengths of swing arm as regards the car build up. Incidentally, whilst on the subject of differing swing arms, there are 3 different brake back plates, but more on this later, so please don't allow confusion to arise. The short swing arm from the older 1970s-1980s bikes is 390mm from centre of pin to centre of axle/spindle, and 470mm respectively from California bikes through to the much later California variants. It can be seen therefore that with a longer swing arm, the angle of the rear shock absorber changes, and to maintain a similar axle/spindle height, different length shock absorbers are required on the longer swing arm. More on shock absorber lengths later.

To set the short swing arm up at the angle required for the fitting of the self aligning bearing, I set the height of the swing arm at the median length of travel of the shock absorber, and the correct length of the shock absorber to maintain this correct angle is 350mm. You'll notice that at this stage, I use a flat rod instead of a shock absorber.


Once the swing arm is in position, I locate a 30mm diameter rod down into the swing arm and through the 30mm bearing that the cardan joint slips into.


On to the rod I slip the 30mm self aligning bearing, ensuring that the grease nipple is vertical. Using a 12mm drill bit through one of the holes, I tap the bit, remove the bearing, then drill through the plate using a rotabroach cutter.


With the bearing in position and one hole drilled, I insert a 12mm bolt and tighten it up. Inserting a 12mm bit in the opposite hole, I repeat the operation above.


Here, the bearing is bolted in both positions. In the final application, an identically cut 10mm spacer, washers and nylock nuts are used. At this stage, you can still see the "line-up" rod through the bearing.


Walk around video of a bare metal chassis prior to blasting and powdercoating.


Saturday 30 July 2016

Hello, I am Arthur Rayner of Aero Cycle Cars in the UK: www.aerocyclecars.com  and I am going to show you on this blog just how to put together one of my fully comprehensive three wheeler "Morgan replica" kits.

Before proceeding, may I say that I ship worldwide, mainly to the USA and Australia. It entails a large wooden crate shipped within a 20ft/6m container. Cost of the crate is approx £500 and shipping around £500 to arrival port. It makes sense therefore to ship a complete fully comprehensive kit. See kit prices & shipping.

Firstly, let us have a look at what a completed car can look like. The photos below display a demonstrator vehicle that I built a couple of years ago. I have updated the specification this year, and the photos that emerge in the coming few weeks, as I build up a vehicle, clearly display my new suspension upright/brake system and vintage splined 19 inch knock off wheels, identical to those fitted to the Morgan 5 speed vehicle.


The first things you'll notice are a) Moto Guzzi V twin power, in this case, a 1046cc (1100) EFI engine and 5 speed sequential gearbox, shaft driven via a reversing gearbox and 2 piece balanced drive shaft through to the Moto Guzzi final drive and swing arm system using twin shock absorbers. 

b) Masses of louvres. Each bonnet half has 48 louvres, that's 96 louvres in the bonnet, and bonnet halves close with vintage sprung loaded chrome on brass bonnet catches. Detachable front side panels are louvred and the main side panels have vertical louvres, just as early Morgans did from the 1920s & 30s.

c) Detail abounds, in fact many of my clients go even further and attach additional chromed parts that really show off the vintage lines of such a car. Let's have a look at a few more photos, and if you like, why not cross over to my website, www.aerocyclecars.com  which has masses of detail within it.


Amazing views forward of the scuttle...vintage Brooklands aero screens with chrome on brass fittings, stainless steel headlights, professionally polished bonnet, fully louvred.


Vintage looking rear end, stainless steel exhaust headers, sidepipes and silencers.


Bonnet side louvres, chrome on brass bonnet catches, detail, detail, detail!


I can build you RHD and LHD cars, or supply you with a starter kit with subsequent affordable additional option kit stages, or a fully comprehensive kit with just about every last nut, bolt and rivet included. If building from a kit of course, you will need to possess or purchase a donor motorcycle from an 850cc round barreled version from the 1970s onwards, squared barreled right up to a late 2000s 1046cc version. All twin rear shock absorber bikes with the big twin engine (850cc -1046cc) will all fit straight in, no matter which length of swing arm you have.